Few things are as frustrating as realizing you're paying for a subscription you no longer use. Whether your riding habits have changed, your delivery needs have shifted, or you just need to tighten the purse strings, knowing how to cancel Uber One: step-by-step guide (app & web) quickly and without hassle is key. This comprehensive guide is designed to cut through the confusion, offering you a clear, actionable path to ending your Uber One membership, whether you prefer tapping through your phone or clicking on a desktop.
Think of this as your personal cheat sheet from a seasoned pro – no jargon, no guesswork, just straightforward instructions to empower you.
At a Glance: Your Quick Cancellation Roadmap
- App or Web: You can cancel Uber One easily through both the Uber mobile app and the Uber website.
- No Immediate Loss: Your benefits continue until the end of your current billing cycle, so you won't lose out right away.
- No Prorated Refunds: Uber One does not typically offer prorated refunds for early cancellations.
- Confirmation is Key: Always look for a confirmation email to ensure your cancellation was successful.
- Don't Delete Your Account: Canceling Uber One is separate from deleting your entire Uber account.
Why Are You Considering Canceling Uber One?
Life happens. Maybe you signed up for a free trial and forgot about it, or perhaps you've moved to a city with great public transport and don't need frequent Uber rides anymore. For many, the cost — even if it's just a few dollars a month — adds up, especially if the benefits aren't being fully utilized.
Uber One, while offering enticing perks like unlimited $0 delivery fees on eligible orders, up to 10% off eligible Uber Eats orders, and 5% off eligible rides, isn't for everyone all the time. If your usage has dipped, or you're simply exploring ways to optimize your monthly expenses, letting go of a subscription you're not maximizing is a smart financial move. It's about ensuring your money works for you, not the other way around.
Before You Hit That "Cancel" Button: Key Considerations
Before you dive into the step-by-step process, let's quickly cover a few important points. Understanding these can prevent surprises and help you make an informed decision.
Timing Your Cancellation
The golden rule for most subscriptions applies here: you can cancel at any time, but your benefits will typically remain active until the end of your current billing cycle. For instance, if you're on a monthly plan and cancel halfway through, you'll still enjoy all Uber One perks until the day your next payment was due. This means there's often no strategic advantage to waiting until the very last minute to cancel. If you've decided to end your membership, doing it now ensures you won't be charged for another cycle by accident.
Refunds and Prorated Benefits: What to Expect
It's important to clarify expectations regarding refunds. Uber One's terms and conditions generally state that membership fees are non-refundable, and they do not provide prorated refunds if you cancel before your current billing period ends. This is standard practice for many subscription services. The value you've paid for will be available to you for the full duration of that period. So, if you cancel today, but your membership renews on the 25th of next month, you'll still get all your Uber One benefits until the 24th.
What You'll Lose (and Keep)
Once your current billing cycle concludes, you will no longer receive:
- $0 delivery fees on eligible Uber Eats orders.
- Up to 10% off eligible Uber Eats orders.
- 5% off eligible Uber rides.
- Access to special member promotions and priority customer service (where applicable).
However, your regular Uber and Uber Eats accounts remain active. You can still order rides and food; you just won't have the subscription discounts. Any saved payment methods, addresses, and order history will stay linked to your profile, ready for whenever you decide to use Uber's services again without a membership.
The Main Event: Canceling Uber One Step-by-Step
Whether you're glued to your phone or prefer the larger screen of your computer, Uber provides clear pathways to manage your membership. We'll walk through both.
Canceling Uber One on the Mobile App (iPhone & Android)
Most people manage their Uber accounts through the mobile app, making this the most common cancellation method. The steps are largely identical for both iOS and Android devices.
Step 1: Open the Uber App and Navigate to Your Account
First things first, unlock your phone and tap on the Uber app icon. Once the app loads, you'll usually see the map view. To access your account details, you'll need to tap on your "Account" icon (it often looks like a person's silhouette or displays your profile picture) which is typically located in the bottom right corner of the screen.
Step 2: Access the Uber One Membership Section
From your account screen, you'll see a list of options like "Wallet," "Activity," and "Help." Look for an option specifically related to your membership. This is usually labeled "Uber One" or "Membership." Tap on it. This will take you to your Uber One dashboard, where you can see details about your subscription.
Step 3: Find and Select "Manage Membership"
Within the Uber One section, you'll find information about your current plan, renewal date, and benefits. To proceed with cancellation, you'll need to locate and tap on "Manage Membership" or "Manage Plan." This option might be a subtle text link or a prominent button, but it's essential for taking the next step.
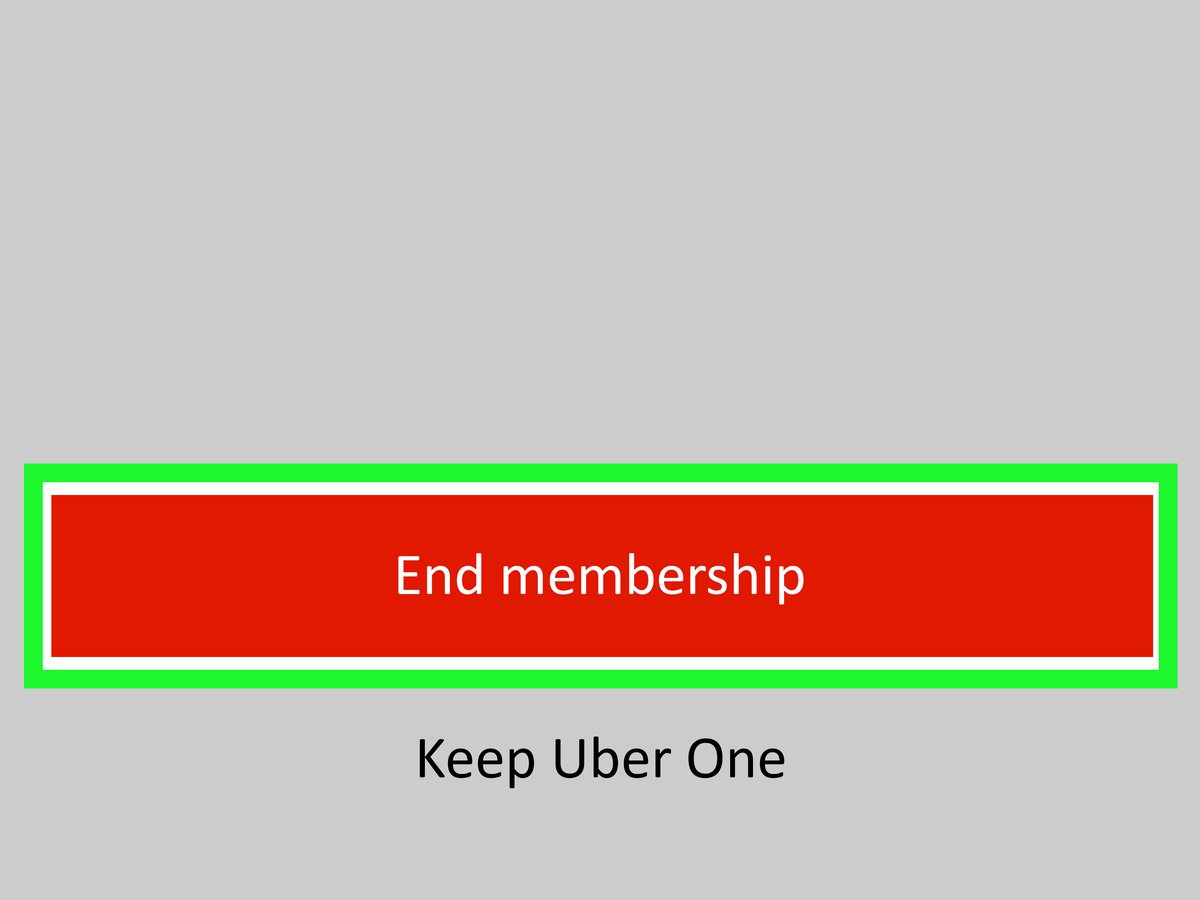
Step 4: Choose "End Membership"
On the "Manage Membership" screen, Uber might try to remind you of the benefits you'll lose or even offer incentives to stay. Don't be swayed if you're set on canceling. Scroll down or look for a clear option like "End Membership," "Cancel Membership," or "Cancel Plan." Tap this button to continue.
Step 5: Confirm Your Cancellation
Uber will likely present you with a final confirmation screen. They might ask for feedback on why you're canceling or show you one last summary of what you'll miss. Read through it, and if you're still sure, tap on "End Membership" or "Confirm Cancellation" one last time.
Crucial: Once confirmed, you should see an on-screen message indicating your membership is canceled. More importantly, check your email for a confirmation from Uber. This email is your proof that the cancellation has been processed successfully. Keep it for your records. If you're looking for a general overview on how to cancel Uber One, this app guide covers the mobile specifics in detail.
Troubleshooting App Issues
- App Not Responding: If the app is acting up, try force-closing it and reopening. A quick phone restart can also solve minor glitches.
- Option Not Found: Ensure your Uber app is updated to the latest version. Outdated apps can sometimes have different interfaces or missing features.
- Still Can't Find It: If all else fails, proceed to the web browser method, or contact Uber support directly (though that's usually a last resort for simple cancellations).
Canceling Uber One via the Web Browser (Desktop or Mobile)
For those who prefer a keyboard and mouse, or if you're having trouble with the app, canceling through the Uber website is a reliable alternative. You can do this on a desktop computer, laptop, or even a mobile browser on your phone.
Step 1: Go to the Uber Website and Log In
Open your preferred web browser (Chrome, Firefox, Safari, Edge) and navigate to the official Uber website: uber.com. Look for the "Sign In" button, usually in the top right corner. Enter your registered email address or phone number and password to log into your account.
Step 2: Navigate to Your Account Settings
Once logged in, you'll typically see a dashboard. Look for your profile icon or name, usually in the top right corner. Click on it to open a dropdown menu. From this menu, select "Account" or "Profile" to access your settings.
Step 3: Locate "Uber One" or "Membership"
Within your account settings, you'll find various sections like "Payment," "Privacy," and "Security." Scan the list for an option related to your subscriptions or memberships. This will usually be clearly labeled "Uber One" or "Manage Membership." Click on this section.
Step 4: Initiate Cancellation
Similar to the app, this section will display your Uber One membership details, including your next billing date. Look for a link or button that says something like "End Membership," "Cancel Uber One," or "Manage Plan." Click on it to proceed.
Step 5: Confirm Your Choice
The website will likely present a confirmation page, potentially highlighting the benefits you'll lose or offering an alternative. Review the information carefully. If you're ready to cancel, click on the final "End Membership" or "Confirm Cancellation" button.
Just like with the app, don't forget to check your email for a cancellation confirmation from Uber. This digital receipt is vital proof that your request has been successfully processed and your membership will not auto-renew.
Browser-Specific Tips
- Clear Cache: If you experience slow loading or strange display issues, clearing your browser's cache and cookies can sometimes help.
- Ad Blockers: Temporarily disable any aggressive ad blockers if you're having trouble clicking buttons or seeing certain elements on the page. Some can interfere with website functionality.
- Private Browsing: If you're on a shared computer, consider using a private or incognito window to ensure your login details aren't saved.
What Happens After You Cancel?
The moments immediately following cancellation can sometimes feel a bit uncertain. Let's clarify what to expect.
Your Benefits Continue Until the Current Billing Cycle Ends
This is a key takeaway. You won't lose your Uber One perks the moment you hit "cancel." Instead, your membership status will change from "active" to "will not renew." This means you'll continue to enjoy all the delivery fee waivers, discounts, and other benefits until the last day of your current paid subscription period. For example, if you paid for a month ending on October 15th and cancel on October 1st, you still get all the benefits until October 15th. This allows you to truly maximize the value of the membership you've already paid for.
No Prorated Refunds
As mentioned earlier, Uber's policy generally doesn't include prorated refunds for early cancellations. If you're on a monthly plan and cancel mid-month, you won't get a partial refund for the remaining days. You've paid for the full period, and you'll get the full period of benefits. This is a standard business practice for many subscription services.
The All-Important Confirmation Email
Always, always look for that email from Uber confirming your cancellation. This email is your official record. It usually states that your membership has been canceled and will not renew, often specifying the date your benefits will officially end. If you don't receive this email within a few hours, double-check your spam folder. If it's still missing, it's a good idea to revisit the app or website to confirm the status or reach out to Uber support.
Resubscribing is Always an Option
Decided you miss those $0 delivery fees after all? Or perhaps a new promotional offer has made Uber One appealing again? Don't worry, canceling your membership is not permanent. You can easily resubscribe to Uber One at any time through the same "Uber One" or "Membership" section in your app or on the website. Your previous account information and usage history will still be there.
Common Questions & Misconceptions About Uber One Cancellation
Let's tackle some frequently asked questions and clear up any lingering confusion.
Can I get a refund if I cancel early?
No, typically Uber One does not offer prorated refunds if you cancel before your current billing period ends. Your benefits simply continue until the end of the period you've already paid for.
Will I lose my current Uber Eats order benefits immediately?
No. Your Uber One benefits (like $0 delivery fees and discounts) will remain active until the end of your current paid membership cycle. Only after that date will you lose access to those perks.
What if I can't find the cancellation option?
First, ensure your Uber app is updated to the latest version. If using the web, try a different browser or clear your cache. If you're still stuck, contact Uber support directly through the "Help" section of your app or on their website. They can guide you or cancel it for you.
Is canceling Uber One the same as deleting my Uber account?
Absolutely not. Canceling Uber One only ends your paid membership benefits. Your Uber account (for rides and food orders) will remain active, along with your payment methods, addresses, and order history. To delete your entire Uber account, you'd need to go through a separate process, usually found under "Privacy" or "Settings" in your account.
How do I know my cancellation was successful?
The most reliable way is to check for a confirmation email from Uber. You can also log back into the Uber app or website and navigate to the "Uber One" or "Membership" section. It should clearly state that your membership is canceled or will not renew, often showing the end date of your benefits.
Can I pause my Uber One membership instead of canceling?
As of now, Uber One does not offer a "pause" feature. Your options are generally to maintain the membership or cancel it. If you're unsure about long-term usage, canceling and then easily resubscribing if needed is the current practical solution.
Making the Most of Your Remaining Uber One Benefits
So, you've successfully canceled Uber One, but your benefits are still active for a few more days or weeks. Why not make the most of them?
Consider this period a bonus. If you've got an active Uber Eats credit or discount, or if you're planning a few more rides before the end of your billing cycle, now is the time to utilize those perks. Plan out any essential food orders you might need or schedule those last few discounted rides. This way, you squeeze every last drop of value from your membership before it officially concludes.
Remember, smart management of subscriptions is all about aligning services with your current needs and budget. By taking these steps, you've empowered yourself to control your spending and ensure your financial decisions work for your lifestyle.